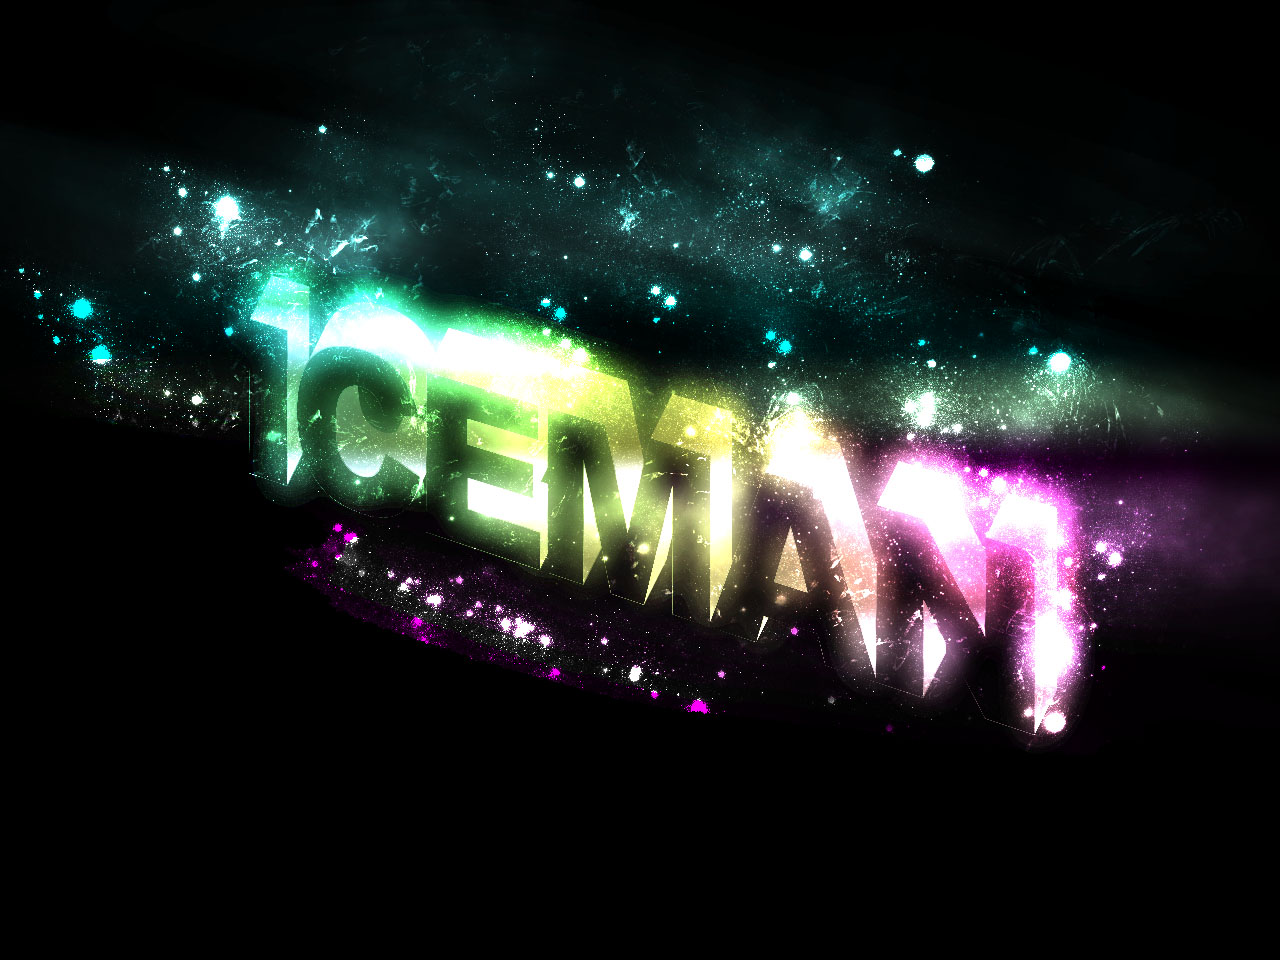
For this week tutorial we are going to learn how to make an simple animation using text. See below for example(click to see it animate and more clearly).
 Step 1:
 Step 2:
Now select type tool or press T on you keyboard and type whatever you want (For this tutorial I use my nickname iceman).
 Step 3:
Select the layer iceman like shown below and go to Layer->Rasterize->Type (or right click on the layer and select rasterize type) and the result is shown in the second image below.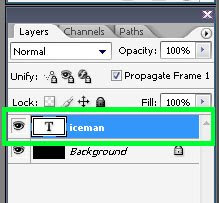
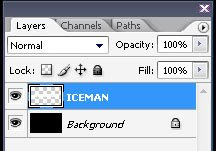 (After the Rasterize Type)
Step 4:
 (After the Rasterize Type)
This time duplicate the layer 3 times (Layer->Duplicate Layer or CTRL + J). Now you must have 4 iceman layers like shown below then hide the other 3 iceman layers by clicking the  and keep the original one in action.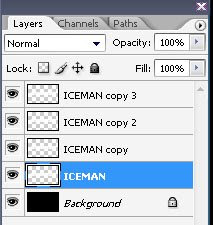
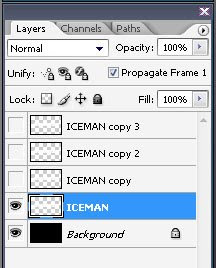 (hide the 3 duplicate layers)
Step 5: and keep the original one in action.
 (hide the 3 duplicate layers)
Now for this step go to Window->Animation and you can see the animation tab below(note: If you are using Adobe photoshop 7 or older you have to switch in Image Ready by clicking File->Edit in Image Ready or Shift+CTRL+M).
 Step 6:
In your toolbox select smudge tool, just right click the blur tool
 and the select smudge tool as shown below(Note: set the brush size to 20 px and set strength to 65%, can be found below the menu after you select smudge tool).
Step 7:
Using the smudge tool, smudge the edge of the iceman layer by click and drag from the edge of the layer to up, to create curve effect of the flame go to the left to right to have wave effect of the fire(Keep experimenting until you are satisfied you with your flame).

The Result is

On the animation palette select the
 (duplicates selected frames) and it will like my animation palette below.
And on layer palette hide the iceman layer by clicking the eye image beside the layer and unhide the second layer name iceman copy by clicking again the eye image beside the layer.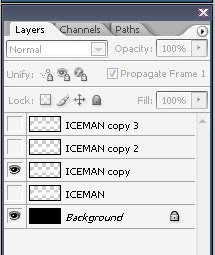
2nd repeat step 7-9
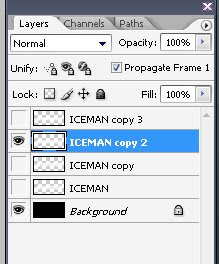
last repeat repeat step 7-9
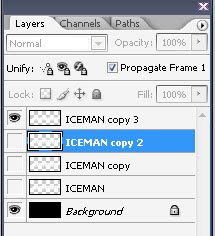
Step 10: eye image beside the layer and unhide the second layer name iceman copy by clicking again the eye image beside the layer.
2nd repeat step 7-9

last repeat repeat step 7-9

Repeat steps 7 to 9 until you are finish with all the 4 iceman layers (note: Make your fire similar from the other layers to have an great effect). The result is like shown below.

Now you should have an effect like shown below(note: to play the animation click the  ).
). (click to see it animate)
Step 12: ).
). (click to see it animate)
To make our effect like a fire we should put a color on it. Select the 4th animation palette like shown below and then go to the layers palette click the
 and choose color balance, a new palette will appear and check the Preserve Luminosity set the color levels to: midtones (+100)(0)(-100) then choose the highlights radio button and set the color levels to: (+65)(0)(-50) and then select the shadows and the color levels is: (+80)(0)(-80).(note: make experiments till you are satisfied.


 And now your layers palette will be like this
 Step 13:
Set the delay time to 0.1 seconds to all the layers in our animation palette like shown below. And then select play button to play the animation to test it.
 Step 14:
Now for the final step lets save our image in .gif file to make it animate use the save for web not the traditional save as, To make it just simply go to File->Save for Web or ALT+SHIFT+CTRL+S and then click save and choose your destination folder on where you want to save the image and click save.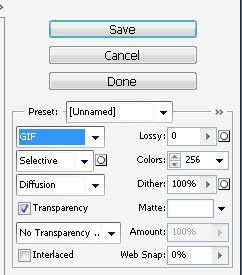 Now go to the destination folder where you save the image and preview it and you have your Fire Text Animation.Enjoy....................
 (Click to animate)
 Now go to the destination folder where you save the image and preview it and you have your Fire Text Animation.Enjoy....................(Click to animate)